7 Advanced HIIT Protocols That Redefine Cardio Potential
Apr 22, 2026


Building real strength doesn’t require filling your space with heavy equipment. Choosing a minimalist approach lets you get impressive results with just a few well-selected pieces of gear and carefully chosen exercises. This style keeps you thinking creatively, encourages your muscles to adapt, and makes each workout feel new and interesting. By skipping bulky machines, you can focus on compact, versatile items that easily fit in a dorm room, small apartment, or even just the corner of your garage. With the right setup, you keep your workouts efficient and effective, all while saving space and staying motivated.
This guide shows how to choose equipment, structure workouts, and push your limits safely. You’ll learn core principles, step-by-step routine designs, and recovery tactics to stay on track. Let’s dive into building muscle, boosting power, and owning your progress.
By sticking to those core points, you’ll get more out of each session. Compound movements save time and demand total-body effort, which drives deeper strength adaptations. Controlling tempo forces your muscles to work harder and ramps up muscle damage in a good way.
Varying a limited pool of equipment—say, two tools—makes you creative. You learn new angles and grips instead of relying on a rack of weights. That variety keeps your body guessing, and you won’t hit a training wall as fast.
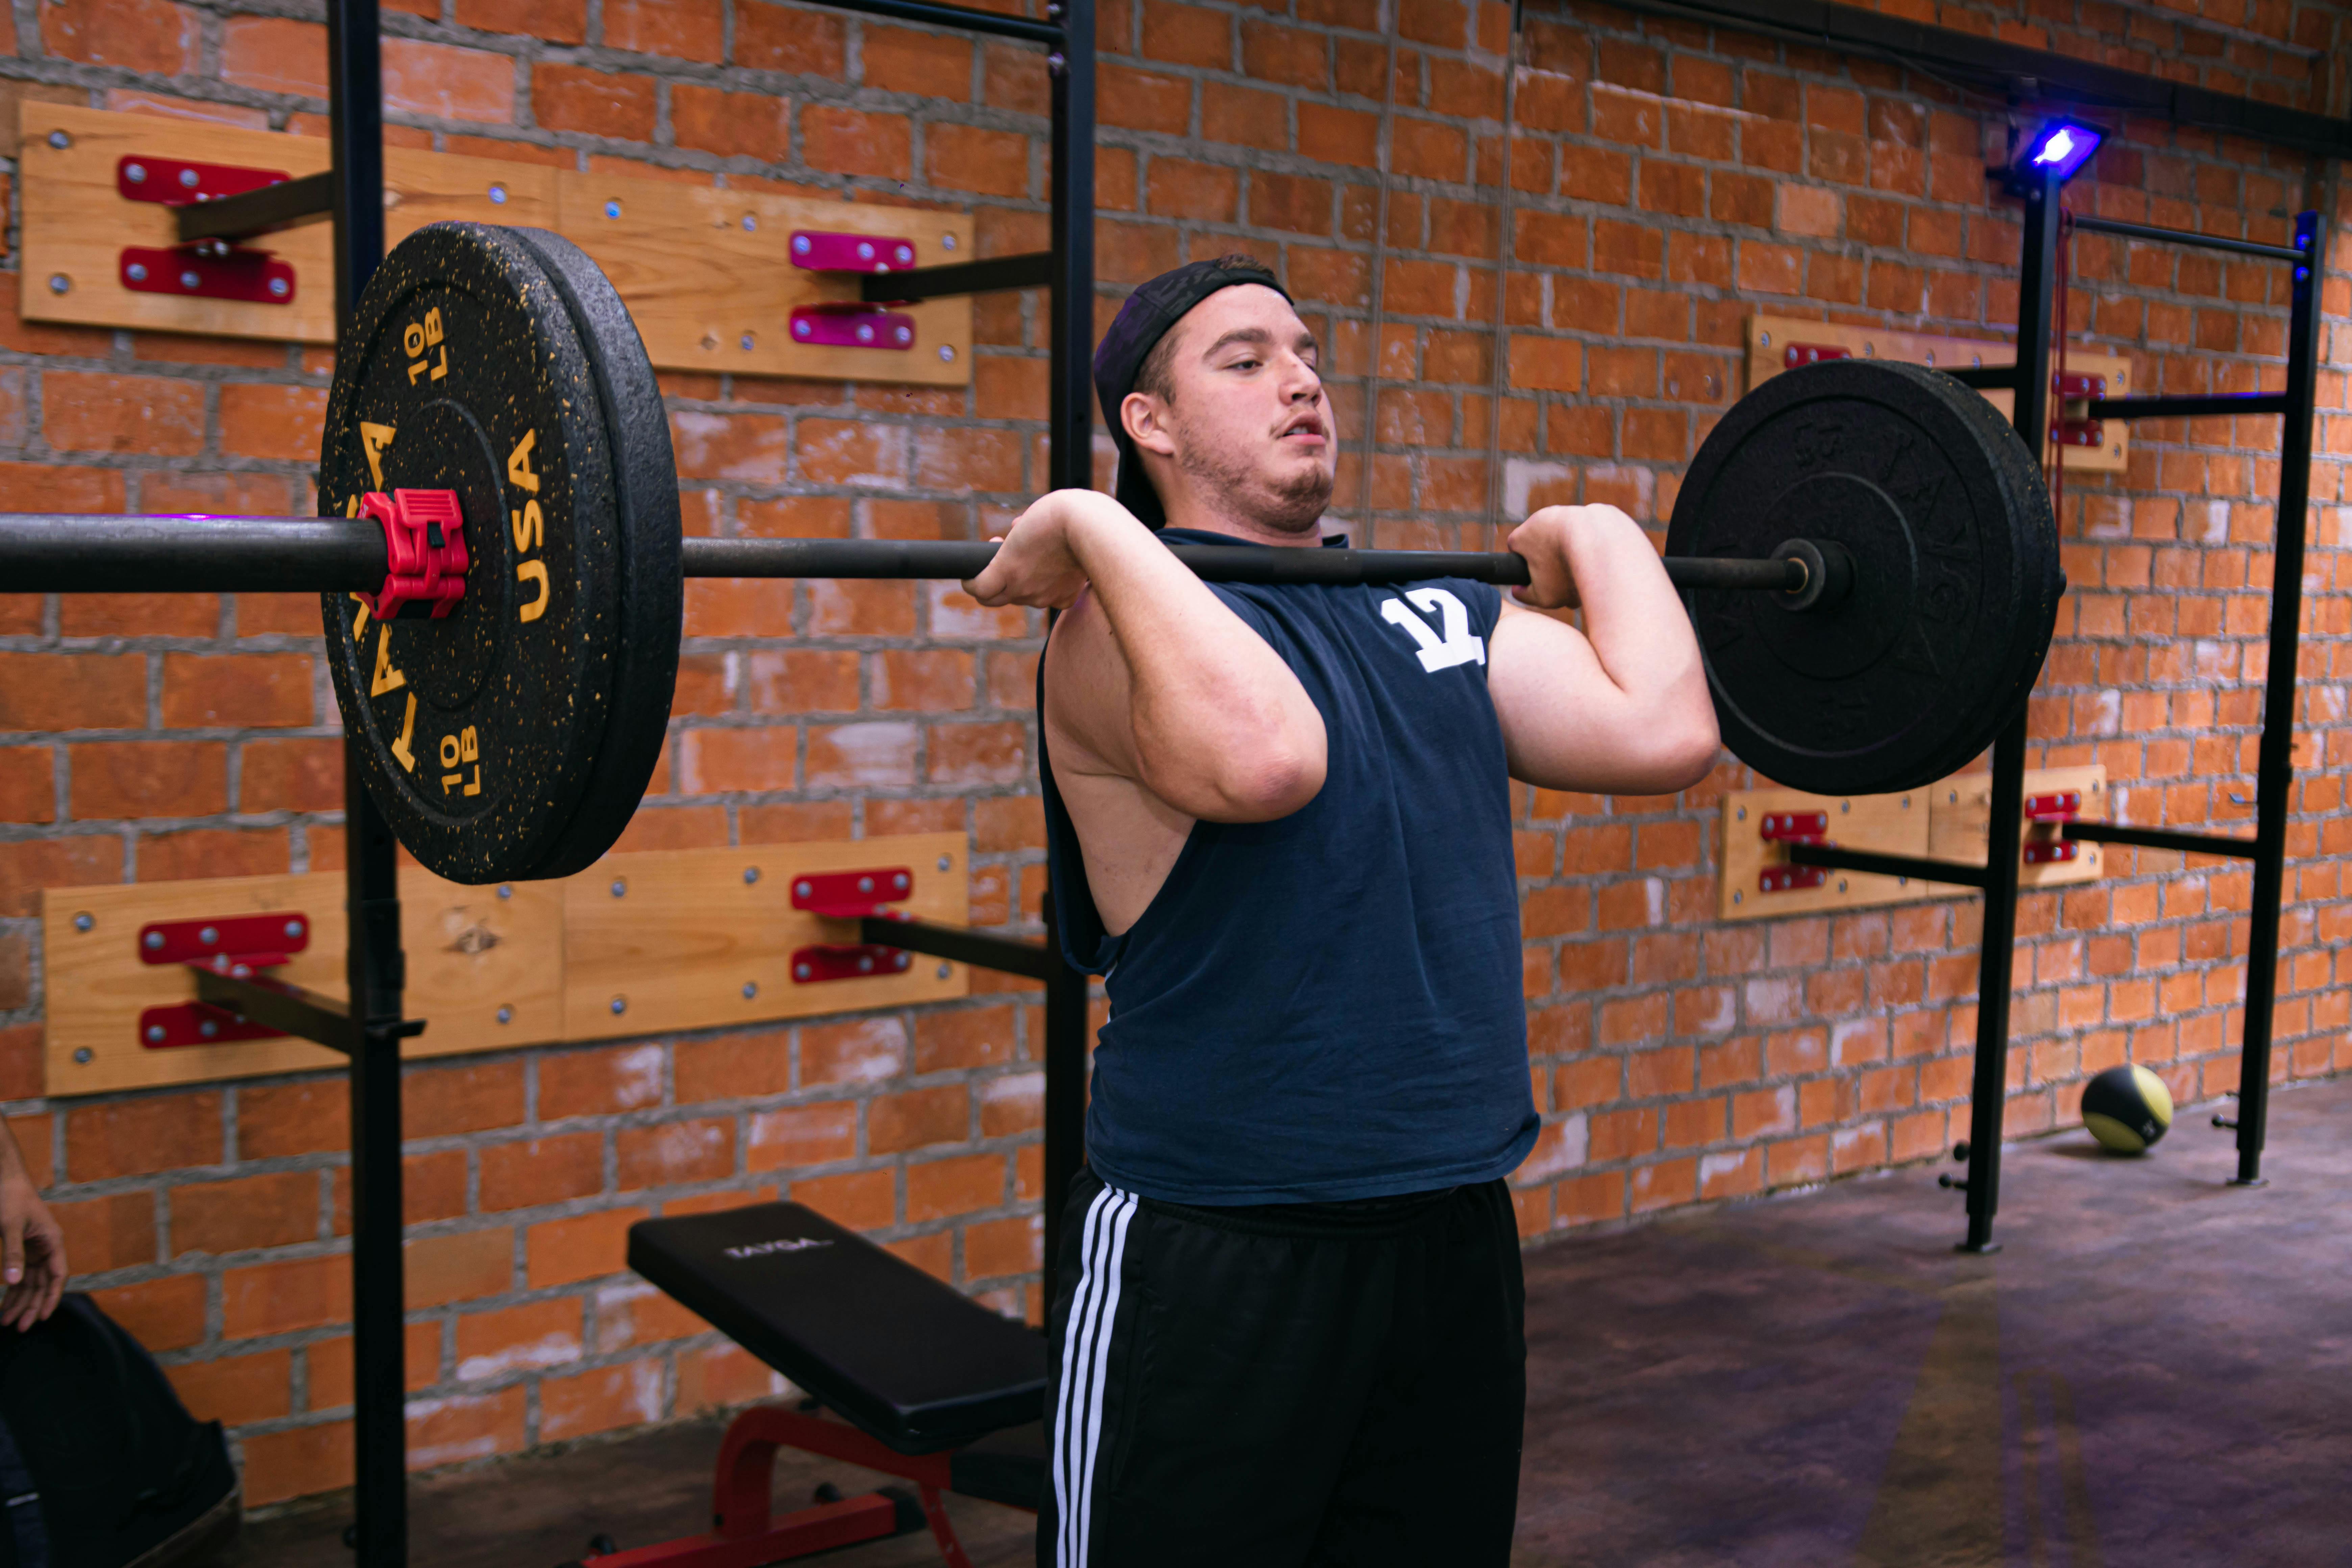
Adjustable dumbbells let you ramp weight quickly. You can jump from 20 to 50 pounds without grabbing multiple sets. Bands slip into travel bags, and you can loop them around a door anchor for rows or extensions. A simple pull-up bar expands your training options immensely.
Gymnastic rings force you to stabilize each rep, firing up tiny support muscles. A weighted vest tacks on resistance for squats, step-ups, and push-ups without extra bars or benches. Together, these five tools give you the power to design any routine.
Start each session with a dynamic warm-up. Include leg swings, arm circles, and light band pulls to wake up your nervous system. Then run through a movement pattern sequence: push, pull, hinge, squat, and core. That order ensures balanced muscle engagement.
Here’s a sample full-body plan:
Once you master form, change your difficulty by varying rep speed, pausing at the bottom, or adding band tension. For example, pause for two seconds at the lowest point of your squat to build stability. Alternatively, perform a slow negative push-up to fatigue those chest and shoulder fibers harder.
Alternate workouts every other day to give muscle groups time to recover. You can also include cardio circuits or mobility flows on off days to stay agile and lean.
You need a clear plan to push past plateaus. Track your weights, reps, and rest intervals. Aim to shave off five seconds from rest time or add one rep each session. These small wins add up fast.
Try a wave-loading approach: choose three load levels—light, medium, heavy—for a 3-week cycle. Week one uses 60–70 percent of your max for higher reps, week two jumps to 75–85 percent, and week three pushes to 90–95 percent with fewer reps. Then reset back to week one but start at slightly higher weights. This method jolts your muscles with shifting demands while preventing burnout.
Minimalist gear may reduce joint stress, but you still need recovery protocols. Plan active rest days featuring foam rolling, banded scapular work, and light mobility drills. This practice loosens tight muscles while you stay on the move.
Listen to your body and monitor soreness. If your shoulders ache after ring dips, swap them for neutral-grip push-ups or slow band-assisted dips. Warming up with light band pull-aparts before pressing helps stabilize your rotator cuff and ward off strains.
Sleep and nutrition fuel repair. Aim for seven to nine hours of quality rest and load up on protein-rich foods like lean meat, eggs, or Greek yogurt. Carbs from rice, sweet potatoes, and fruits support intense training sessions.
Keep a log of how you feel each morning. Note any joint stiffness or fatigue. Adjust volume or load accordingly to maintain steady progress without setbacks.
Use versatile tools and smart workout plans to improve your strength and stay current with fitness trends. Follow these principles to achieve your goals efficiently.

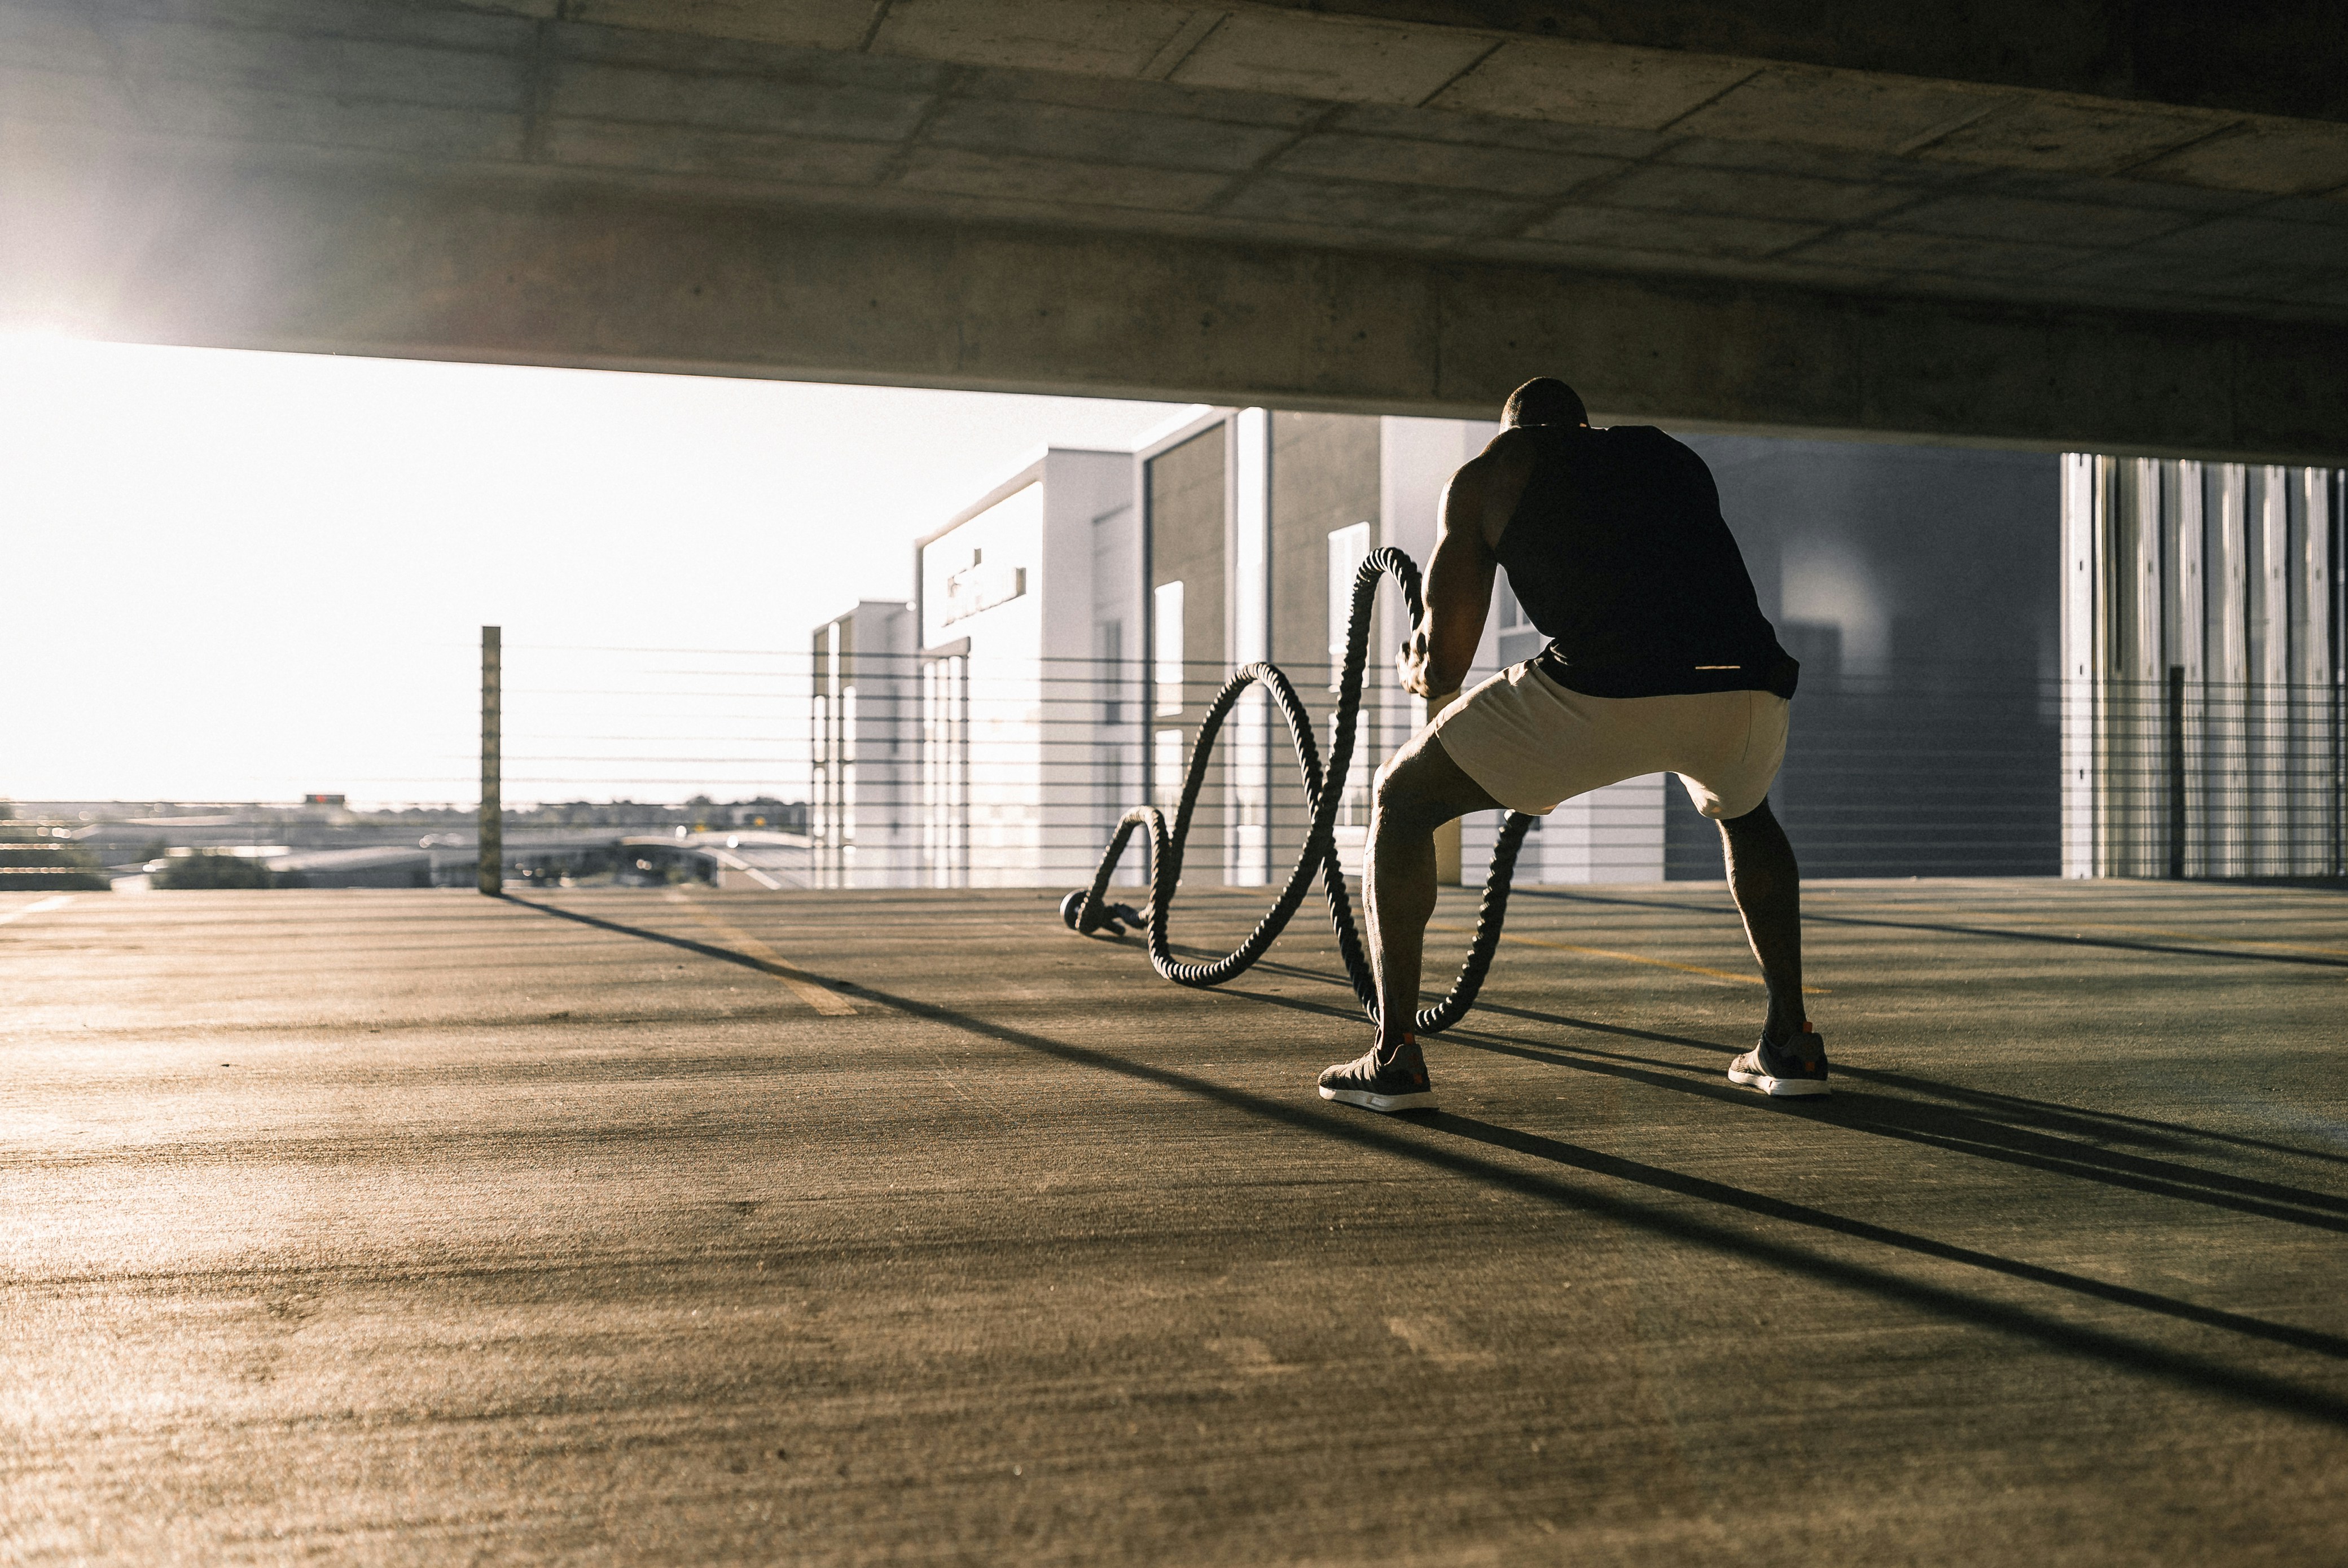
Every athlete reaches a point where progress slows and improvement feels just out of reach. These seven training methods can help you break through that barrier by...
Jun 06, 2026

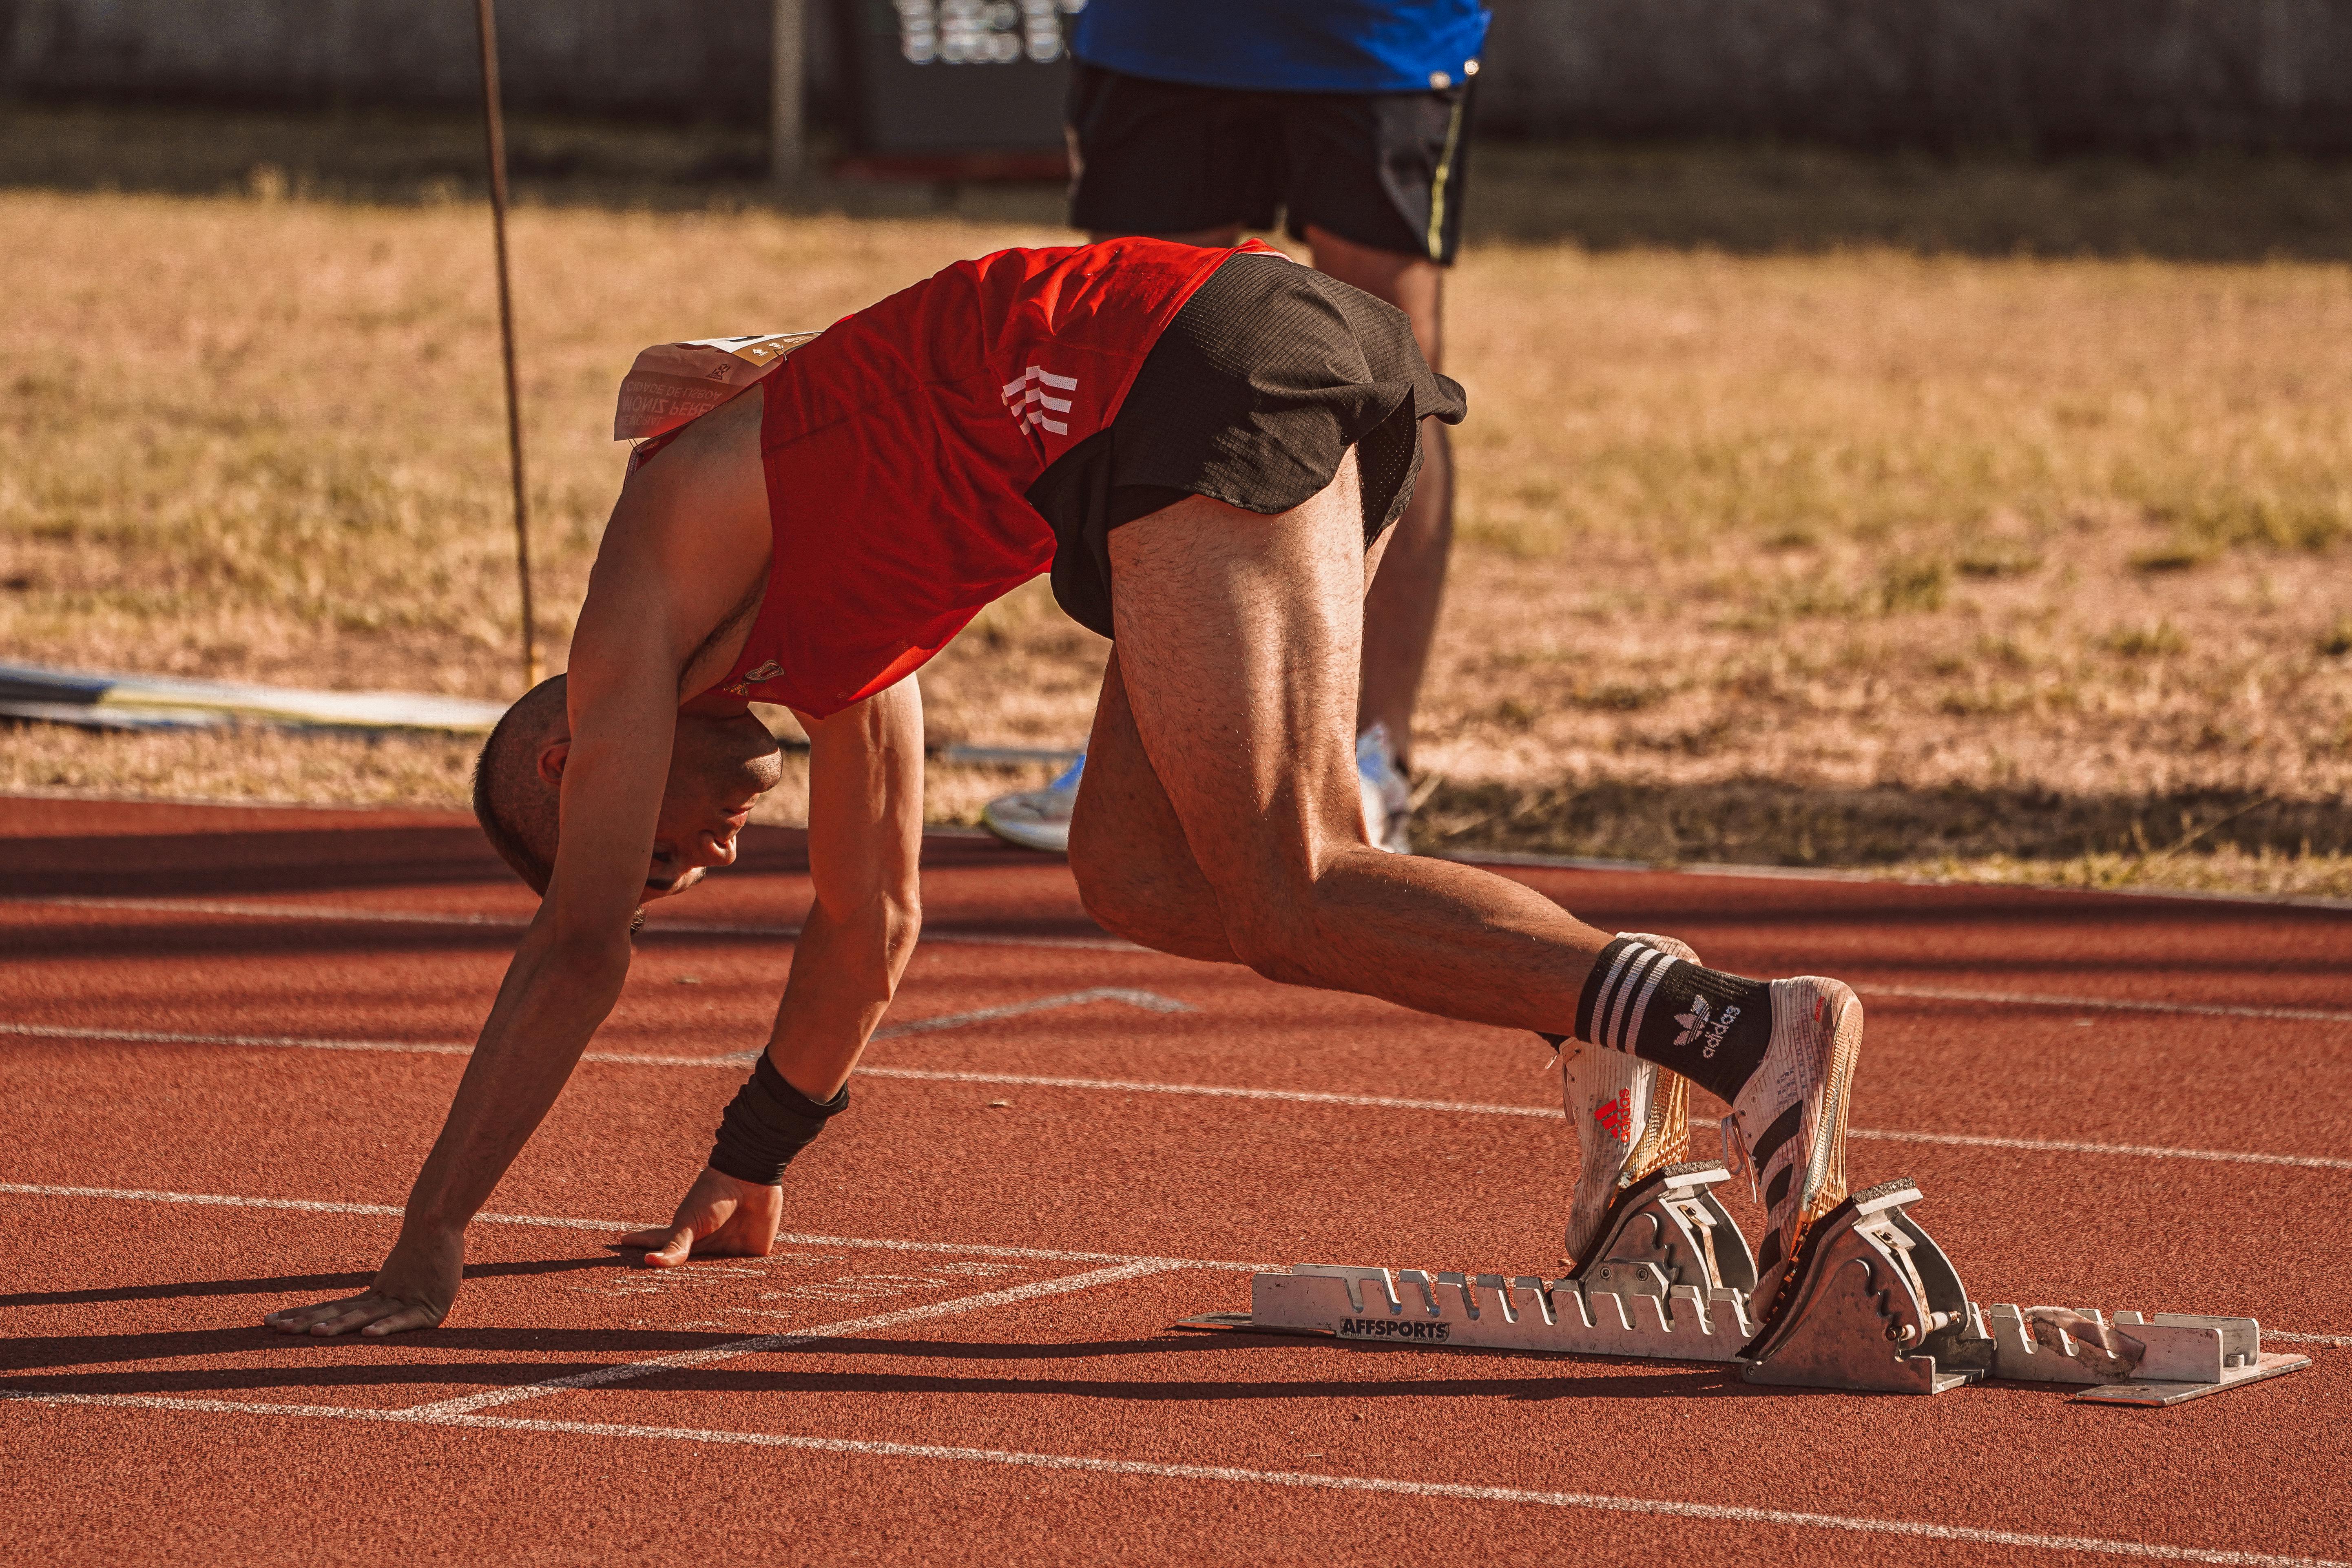
Powerful leaps begin with an explosive contraction of your muscles, sending you off the ground in a surge of energy. That burst does not rely on luck or magic; you can...
Jul 10, 2026

Building a powerlifting routine that boosts your squat, bench, and deadlift numbers calls for careful planning and a bit of creativity. Focus on developing a schedule...
Jun 21, 2026
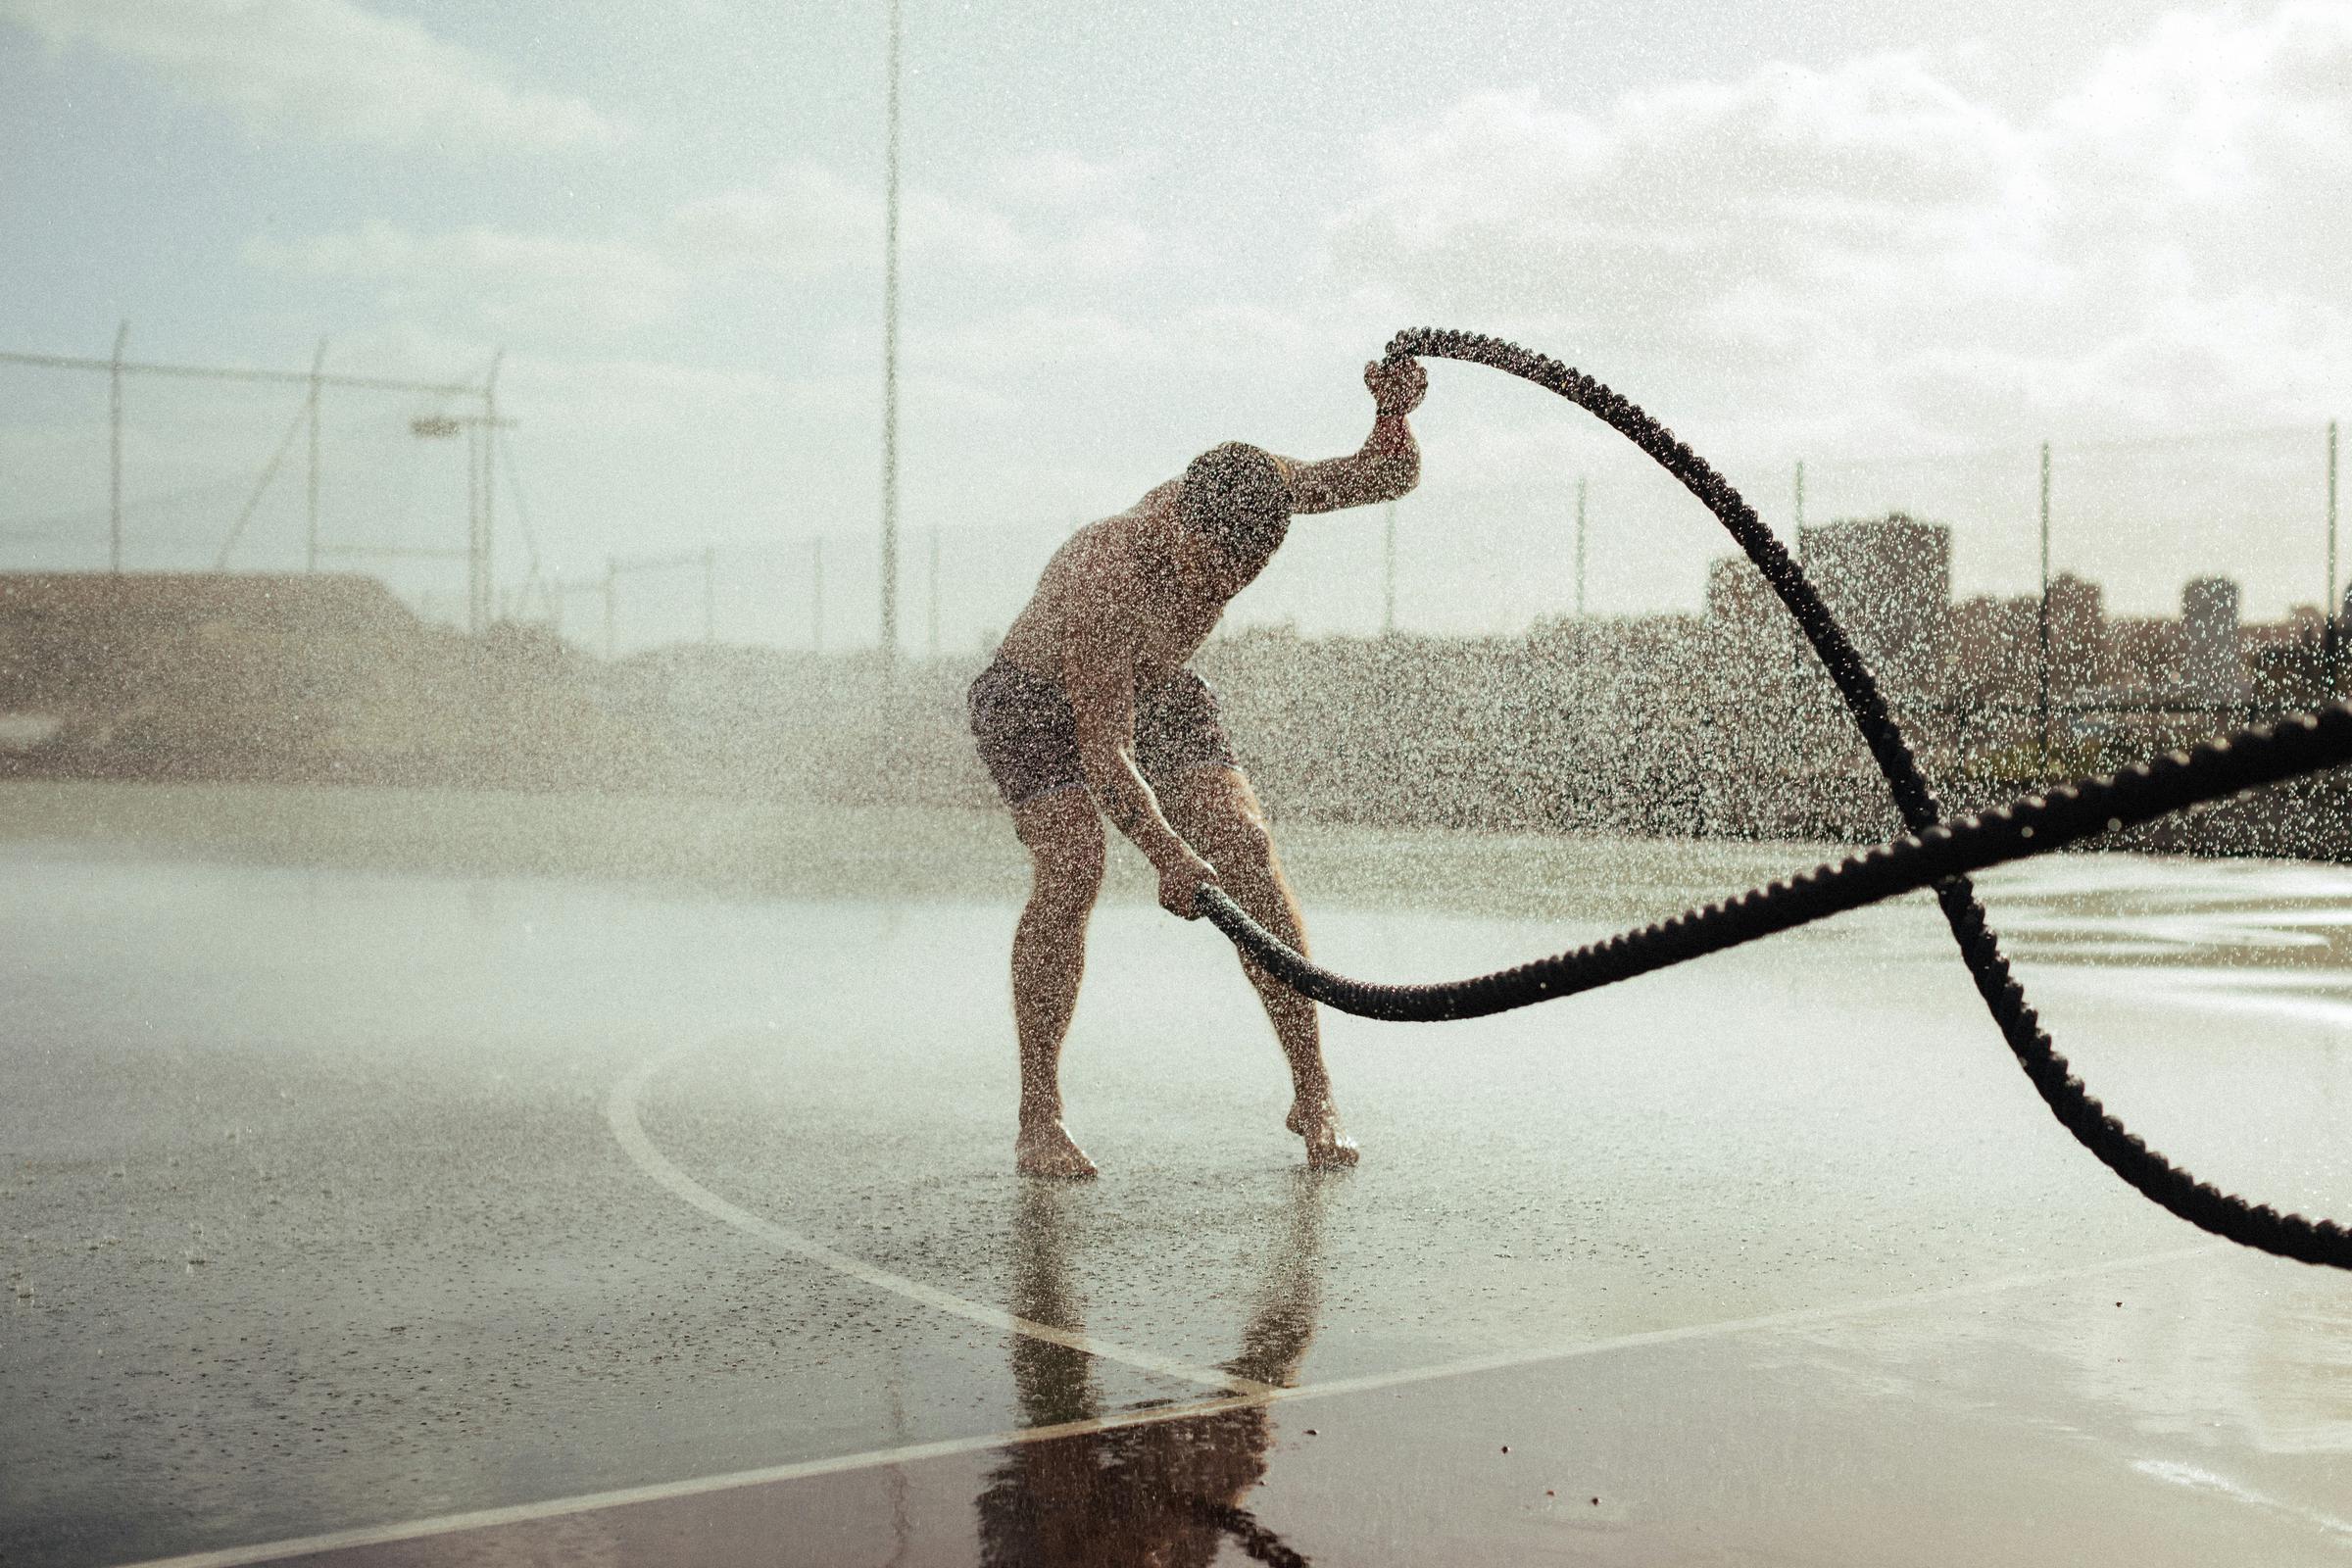
Chasing faster sprint times calls for smart, effective training methods. This guide introduces ten fresh high-intensity interval training (HIIT) workouts designed to...
May 27, 2026

Wearable technology now tracks your every move, heartbeat, and muscle twitch, providing detailed feedback during every workout. Devices such as wrist scanners, smart...
Jul 14, 2026

Modern activewear brings together comfort and style, making it a natural choice for both workouts and daily wear. Sleek designs meet advanced fabrics, allowing anyone to...
May 12, 2026

Choosing an ideal fitness tracker adds motivation and clarity to every workout. These devices deliver real-time updates, allowing you to monitor your pace, track...
Apr 29, 2026

Muscles ache and your body feels spent after finishing a challenging strength workout. Signs of fatigue set in, and every movement reminds you of the effort you just put...
Apr 25, 2026

Optimal recovery starts with thoughtful choices in the kitchen and purposeful rest habits. Small adjustments to meals and downtime can speed up muscle repair, reduce...
Apr 07, 2026

Many people feel exhausted after an intense workout and find it challenging to recover before hitting the gym again. Tracking your recovery goes beyond simply counting...
Jun 02, 2026

Running after dark or working out under the moon offers a unique sense of freedom, yet it calls for special attention to safety. Reflective gear transforms basic workout...
Apr 11, 2026

Chasing a new personal best brings excitement and motivation to every training session. These seven biohacks help you optimize your body’s natural processes, giving you...
Jul 05, 2026

Training at high altitudes offers a powerful way to build greater endurance and test your physical limits. As you spend time at higher elevations, your body responds by...
May 07, 2026

Quick reactions and explosive changes of direction often separate standout athletes from the rest of the field. Many training routines promise results, but some...
Mar 27, 2026